By Sarah Oberstar and Kaitlyn Shaffer
23 February 2024
Over the last couple of weeks, we have been working on designing and testing primers for our project. We are studying the expression of certain genes between breeding and non-breeding Anolis carolinensis, a species of small lizard. We picked two genes, the KNCJ4 and NR1D2 genes to study. The KCNJ4 gene provides instructions for making a protein that acts as a channel in cells, specifically in the heart and brain. The NR1D2 gene helps synchronize the biological circadian rhythm. It also influences the metabolic processes of the body.
A couple of weeks ago we designed three primer sets for our selected genes. We analyzed the primers to ensure they did not have hair-pin structures, self-dimers, and hetero-dimers. This made sure the primers we chose had a high success rate. When the primers arrived, they came as powder. We had to reconstitute them. We added water to the primers to dilute them. We could then use the primers in our PCR (Polymerase Chain Reaction).
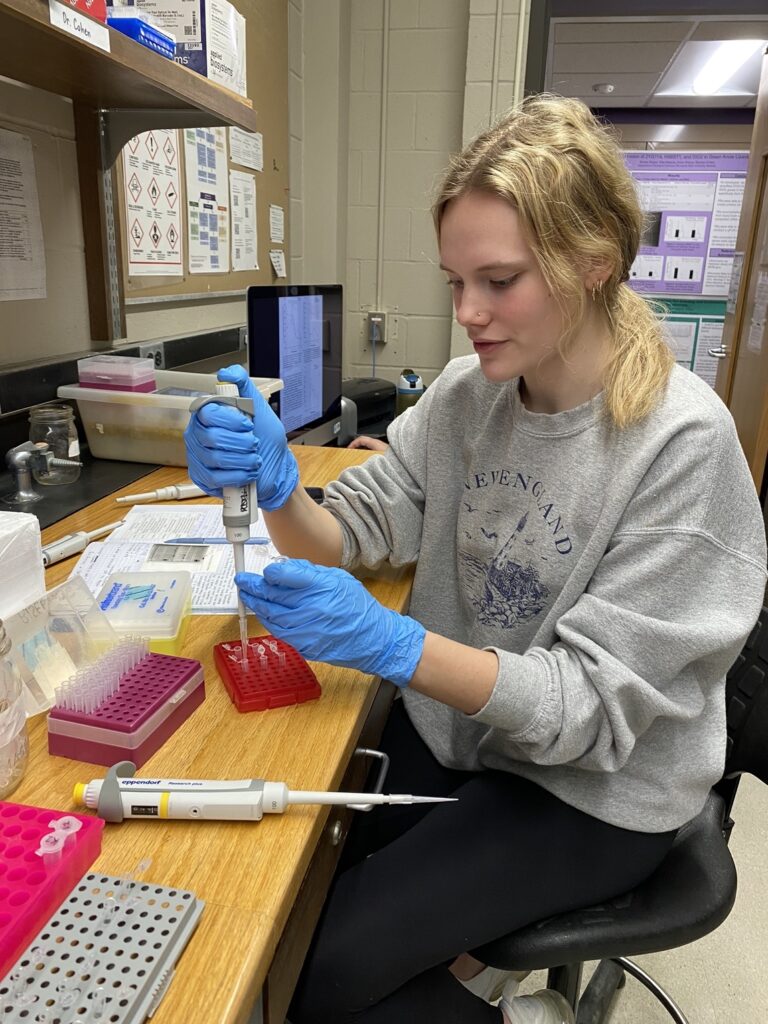
We created three solutions using the KNCJ4 primers, and three solutions using the NR1D2 primers. We created a final solution with beta actin. The beta actin solution acts as a control while we work with our designed primers because we know the beta actin primers work. These solutions were then used to make fourteen for the gel electrophoresis. Each of the original solutions were split and either cDNA or water was added. This gave us a positive and negative control. We then ran our solutions in a thermocycler for two hours. This copies the DNA. We had to make sure we labeled everything well now that we were working with multiple different solutions to test. We got better at planning ahead by drawing and writing in our notebooks. We became more efficient and gained a better understanding of the process the more we did it.
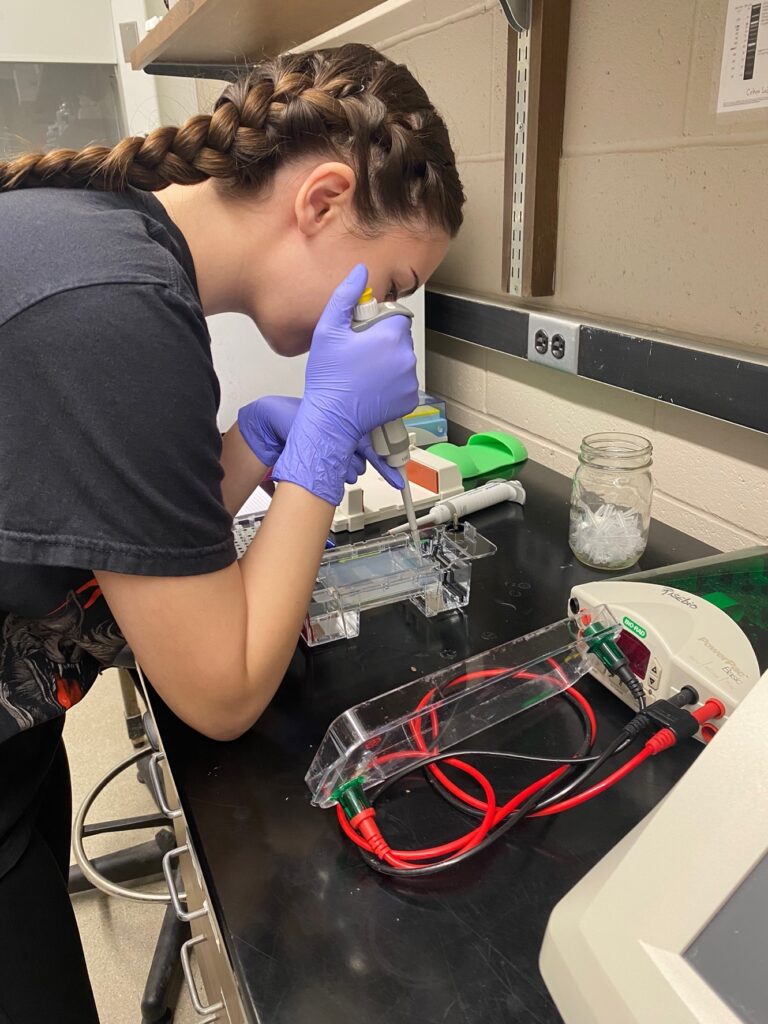
Once the PCR was done, we then moved on to gel electrophoresis. We created our own gel and put it into the gel box. We pipetted our solutions into the wells and let the gel run. When the DNA was done moving, it could be imaged. Using the BIORAD Gel Doc™ XR+ Gel Documentation System, we were able to take a picture of our gel. Unfortunately, the results came back contaminated and contained primer dimers. We were unable to see if our primers worked. However, our results told us that we should use a temperature gradient and use different cDNA next time.


