2 February 2024
By Arya Haala & Elenore Milde
This first month we started practicing pipetting to get more comfortable with lab skills. Then we moved on to PCR and gel electrophoresis. This last week we practiced imaging for the first time, and it went well!
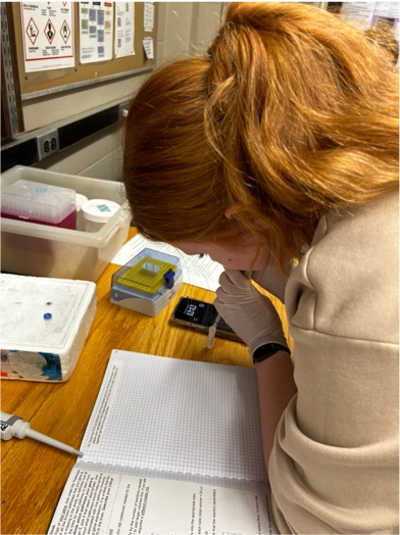
For week one, we focused on our pipetting protocol. We had a lot to learn on proper technique and choosing the right size pipette tip. We used these skills in all the following weeks.
First, we used prepared cDNA samples to run a PCR protocol. We had to calculate the volumes for each step and mix our solution. Then, we vortexed our tubes down making sure to balance the machine for best results. Next, we used our newfound knowledge of pipetting to create positive and negative tests. The positive control contained cDNA, and the negative control contained distilled water. We ran our samples in a thermocycler for approximately two hours before placing the samples in the freezer for future use.

The next week we used our samples for gel electrophoresis. To start we mixed agarose and 1xTAE buffer and microwaved and swirled it until the mixture was clear. We assembled our gel casting tray, adding in the eight-prong comb to create our wells. Our mixture had not cooled all the way, so we ran the flask under cold water until it was warm to the touch. We then added bullseye dye to the agarose mixture. Once this was incorporated, we poured the mixture into the tray, making sure there were no bubbles present. It sat for about 30 minutes to solidify. Once solid, we removed the comb and placed the gel into the machine. There was already some buffer from a previous group, but we topped it off to ensure the gel was completely covered. We pipetted in our ladder, then our positive control, and finally our negative control. For the positive control, the pipette tip broke through the gel. We attempted a second well, but there was not much material left.
The gel ran for about 30 minutes, then we removed it and carried it up to the imager. We placed the gel in the machine following our imaging protocol and properly formatted the image orientation. We took photos of the results for our journals. Our positive control was not successful, but we will try again using what we learned.