
31 January 2020
By: Alex Wehrman & Matt Bromann
Brain and Behavior stream
The past two weeks, my partner and I have been working on Polymerase Chain Reaction aka PCR and Agarose Gel Electrophoresis. So, let us explain what PCR is, PCR is several simple steps of starting with a master mix, adding primers, water, and DNA. The master mix is a mixture of nucleotides (building blocks of DNA) that will be used to create more strands of DNA. Primers are important to creating more DNA by telling the “building blocks” where to come together. Adding the distilled water allows there to be the correct concentration. The second to final step is to separate this master mix into two small tubes where one of the tubes will have the DNA added and the other will have more distilled water. The purpose of having two separate tubes is to have one with DNA and one as a control. We will explain what the control will show later in this blog. The purpose of PCR and doing all these steps is to create large amount of the same DNA so that we can use it in gel electrophoresis.

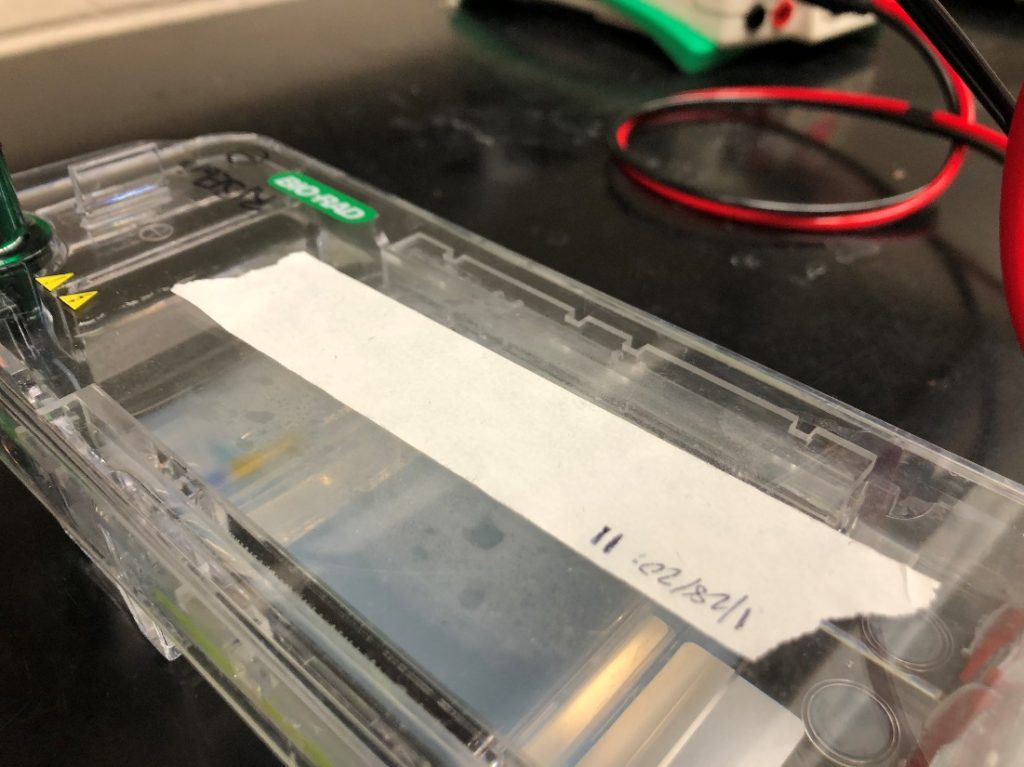
Once we completed a PCR, we began to make an Agarose gel to run an electrophoresis. A gel electrophoresis is used to measure the length of a DNA strain compared to a DNA ladder, which is a mixture that contains several DNA strains of different lengths. Electrophoresis can also be used to show similar DNA strands. A special gel must be used for electrophoresis called agarose because it has pores that allows the DNA strands to move through it when an electrical current is run through it. The gel is mixing agarose powder with a solution called TAE 1x, and then heated and mixed until clear. When warm, but not hot, the mixture is poured into a casting tray, and a comb, which allows those little sections in the gel to form right, is inserted. The gel cools for 30 minutes until it is firm, and then the comb is removed. At this point, the gel is much like a jello in that it is not very firm, but it is not a liquid anymore. Next the gel is moved to the electrophoresis box, and the side with the sections, which will be called wells from here on out, are placed facing the black electrodes. More TAE mixture is poured over the gel until it is covered. A DNA ladder is added to either the first or last well, and then the DNA and water are added in the wells next to the DNA ladder. The box is then covered and plugged into a power supply. An electric current is run through the gel for about 30 minutes. Once the time has passed, the power supply is powered off and the gel is moved to imaging, which takes a picture and makes it easier to see the samples. Once a picture is taken, it is inverted and then each sample is compared to the DNA ladder for how long it is. A sample that is farther from the well is short and a sample closer to the well is much longer.
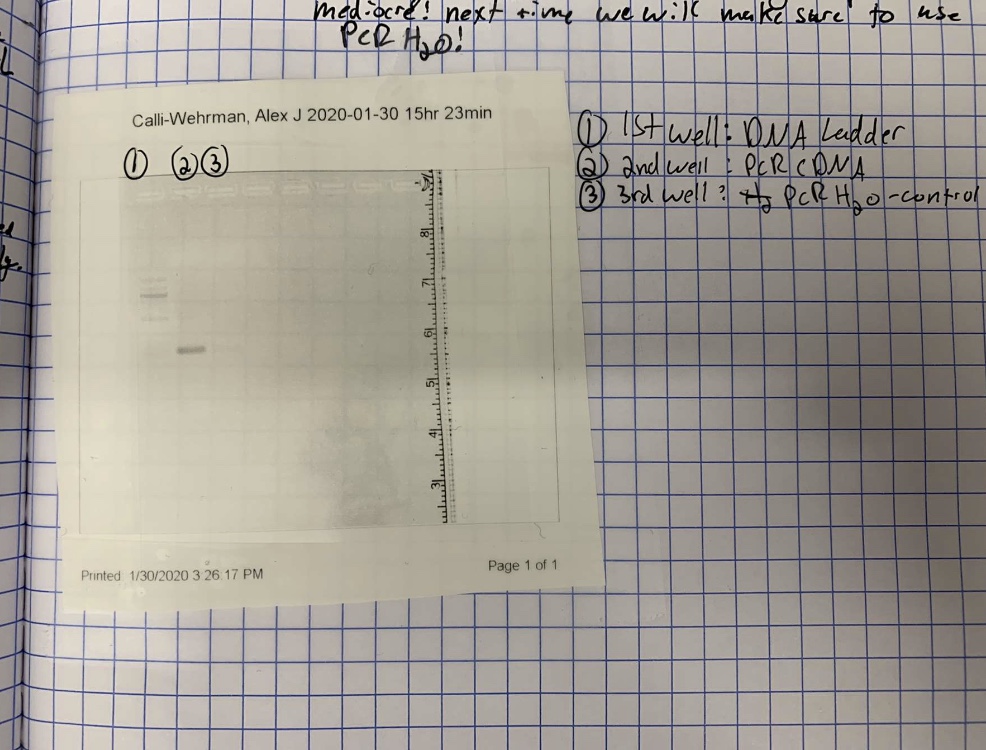
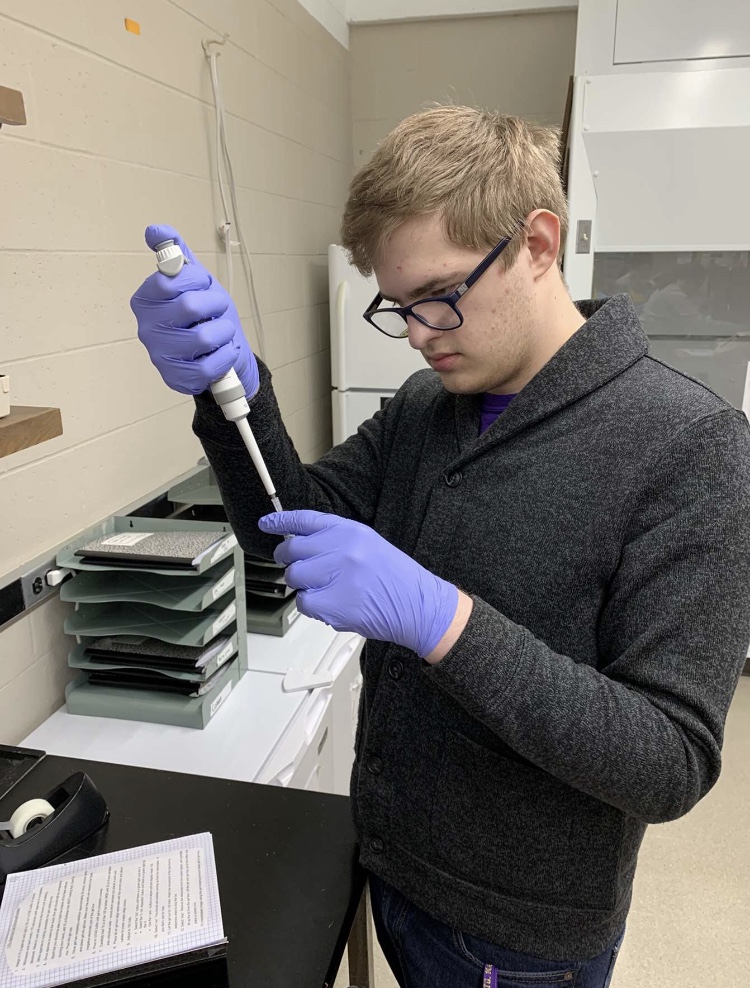
Overall, this experience of making a PCR and an agarose gel has been very inspiring in our future college research endeavors. Doing research though means doing mistakes. The mistakes we ran into is that our water was contaminated with DNA. The water must have been exposed to hair or dead skin. In our gel imaging our control PCR showed that it had DNA in it, and this is most likely from human error. Luckily, the greatest lessons come from our errors and in the future, we will be extra careful in preventing our water from being contaminated. These opportunities in a research lab allows us to practice simple but important tasks such as measuring small volumes (pipetting) and creating agarose gels. With us practicing these techniques it will allow us to succeed in other research pathways. The point of these two techniques is to prepare us for our future research in the Brain and Behavior stream.