
7 October 2019
Makenzie Reed and Bola Ogunlana
Introduction:
RNA samples are unstable compared to DNA. Therefore, the RNA isolations that we completed last school year, and at the beginning of this year, are unstable. In order to be able to work with our sample and perform the experiments that we would like to without the worry of our RNA samples degrading, we convert the RNA samples into their more stable cDNA form. After the conversion, we plan on checking to see if our cDNA samples are accurate by running a gel to see if we get the correct band size.
Research:
Our first task back in the lab was finishing up our last RNA extraction since we were not able to finish all six of our samples before we left for break. This semester, we have done several RNA extractions and have not seen the results that we would have liked. In a non-degraded sample of RNA, you should see a high concentration, a 260/280 ratio of about 2.0, and a band at the 28S mark and the 18S mark on a gel.
In our first RNA extraction of the semester, we saw a high concentration of RNA and a good 260/280 ratio. However, we did not see a band on the gel. Our first thought was that we may have forgotten to add some loading dye to the sample. The function of loading dye is to brighten the sample so we can see it on the gel. However, after thinking through what we did to load our sample in the gel, it was clear in our minds that it was added due to the color the well was in our gel. Since we were able to eliminate this error, we concluded that at some point in the process, our RNA was out for too long and degraded. Our thought is that we were too slow getting our sample from the -80 degree Celsius freezer and into the Qiazol solution for homogenization.
Ready to try again, we moved on to a new sample. This time, we were able to go a lot quicker than the previous time since we had one run under our belt again. However, once we took our tube out of the refrigerated centrifuge, the clear aqueous layer and the pink layer were inverted. Normally, there should be a pink protein layer on the bottom and a clear aqueous layer on top, but we saw the pink layer on the top and the clear aqueous layer on the bottom. Because of this, we had to vortex our sample and place it back in the refrigerated centrifuge for 15 minutes. After the 15 minutes, we took our sample out and the layers were in the order that they were supposed to be. We are pretty sure that having this error caused contamination of our sample because of the mixing of layers, and we also think that redoing this step also led to our sample to be out for too long and caused it to degrade. We decided to run the quality checks on it anyways. Although our RNA concentration and 260/280 ratio were good, our suspicions of contamination and degradation were confirmed when our gel results came back with no band.
After this, we moved onto a third sample. This time, we took extra time before we came into the lab to read the protocol super careful and mark up the places where we made errors in the past to avoid making them again. We also did the RNA extraction with our lab’s Graduate Assistant, Maria, to ensure that we were doing everything right and to give us a few pointers. After we finished the RNA extraction, we felt really good about it. We completed it probably the fastest that we had done over the course of both semesters, and it was the most comfortable we had felt with the steps. However, we still did not get the results that we expected to. Our concentration was extremely low at about 24 when it is supposed to be in the 200s, but our 260/280 ratio was good at about 1.8. Thinking that there could be an error in the nanodrop that we used, we ran our gel. Our gel still showed no band at 28S and 18S. With having two of the three quality checks showing poor results, we determined that our RNA was contaminated and degraded. After pondering about what happened for several days, we think that our elution step did not work. In the elution step, you have to make sure that the buffer gets right on the membrane and does not get on the side of the tube. Getting the buffer on the side of the tube will contaminate your RNA because of the other wash steps we do in the same tube. We have taken note of this error and when we do this step next time, we are going to be very careful that we do not get the buffer on the wall of the tube, only on the membrane.
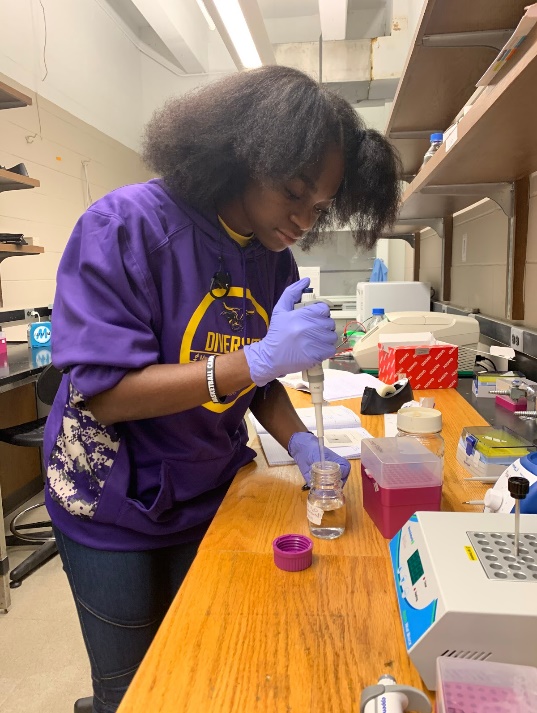
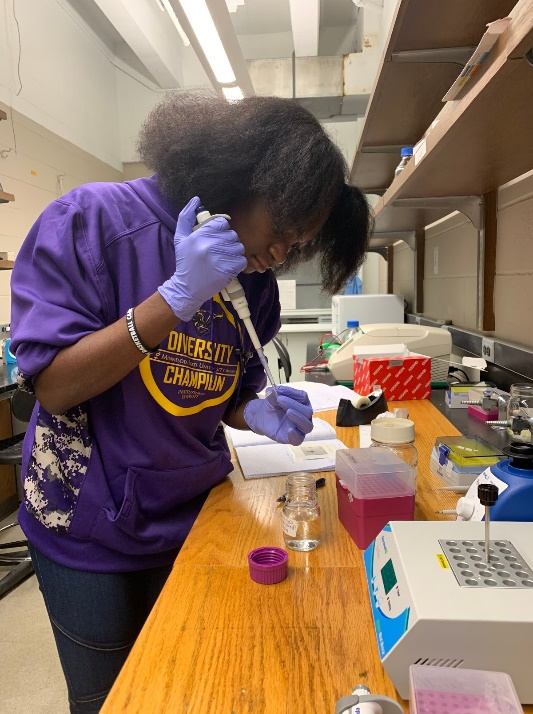
While working on our final RNA extractions, we have also been working on some cDNA synthesis for our successful RNA extractions from the spring semester. For this, we take the RNA that we have formed from the RNA extractions and turn it into cDNA. This is because cDNA is more stable than RNA, and the more stable form allows us to run the experiments that we need to. For cDNA synthesis, we use a mathematical formula to get a concentration of 1 microliter solution of cDNA by adding water and the RNA that we extracted together. We want the solution to have a total of 8 microliters. Once we do this math, we pipette these amounts from a kit into a microcentrifuge tube. Once this is added, we denature the sample on a heat block. After this is complete, we add enzyme and move the sample over to an incubation chamber. Here, the mRNA is copied to cDNA. Once this is done, we put the sample back on a heat block for a few minutes to stop the reaction. Then we store our samples in the -20 degrees Celsius freezer. Currently, we do not know if our five cDNA synthesis reactions worked because we have not run a gel to check if we see bands where we would expect them to be in correspondence with our primer.
Reflection:
This year has started off a bit difficult for us, and it has not gotten easier yet. In the past, we have managed to successfully isolate RNA, but we are having some trouble with our most recent samples. We have attempted several RNA extractions, but our samples have all been degraded. The Nanodrop values and Gel images have not been what they should have been. On a positive note, we have been able to practice many lab skills, such as pipetting and homogenizing. Being able to brush up on our technique on these skills that every great scientist must master is always a plus! We have also learned that we are only getting better at this and have learned that each trial of an experiment may not turn out successful, even if you have done the same experiment for several months. Scientists make mistakes all the time, they do not always get the results they expected. That is why it is called an experiment, we can always expect results, doesn’t mean that’s what we’ll end up with.
Although the RNA extractions have been a bit troubling for us, we have had lots of fun doing the cDNA synthesis. Although we have not been able to visually see the results of them yet, we are excited to see our results and move further into this semester.
Future Research:
Over the next few weeks, we will continue to do RNA extractions until we obtain good results. After we finish this, we will use this sample as our sixth and final cDNA. After we finish the last cDNA synthesis, we will run a gel as a check to see if our reactions work. This is done by taking the primers that we have designed for our gene and making a master mix with them. Then instead of adding the cDNA that was premade by our lab instructors like we did to test our primers first semester, we will use the cDNA that we made and compare it to the bands that we got in our gel first semester. If the cDNA is good, the band should look just like the ones that we got at the beginning of last semester when we were testing our primers. Along with the cDNA, we will run a water control. We do this in order to help us form a prediction on where/when contamination occurs if we do not see the expected results. If we see a band in the water column of the gel, we know that there was some contamination when we were pipetting samples into our gel. If we see no band in the water column, we can conclude that there was some contamination or an error in our cDNA synthesis product. In the event that we see any contamination, we will most likely have to redo the cDNA synthesis for that RNA sample.
Once we have confirmed that all of our cDNA synthesis worked, we will run a qPCR reaction. A qPCR allows us to quantify and watch our reaction in real-time. We will be able to monitor how many strands of DNA are made during each cycle and be able to determine at which cycle our cDNA reaches the threshold. Because this process is long and expensive, we will begin practicing how to load a qPCR plate in the next week.
Sources:
Cohen, R. (2019). Lecture 4- RNA Extractions. PowerPoint presented in the RISEbio Research at Minnesota State University- Mankato.
Cohen, R. (2019). Lecture 8- cDNA synthesis. PowerPoint presented in the RISEbio Research at Minnesota State University- Mankato.
Cohen, R. (2019). Lecture 9- qPCR. PowerPoint presented in the RISEbio Research at Minnesota State University- Mankato. Khan Academy (2019). RNA: The Basics. Retrieved from: https://www.khanacademy.org/partn er-content/nova/rnawondermolecule/a/rna-the-basics