October 3rd, 2019
By Amyah Ockenga and Platung Chang
Introduction
Continuing research we had conducted Spring of 2019, our overall goal is still to predict miRNA regulation of APOBEC3A and/or APOBEC3B genes, which are found in cancer. Last Spring, we amplified the miRNA of our choice, purified the PCR amplicon, and finished by cloning our amplicon into the pMiniT 2.0 cloning vector. To determine if the correct miRNA was cloned, we ended the semester by sending our miRNA to be sequenced. Because our results came back positive, meaning that we had successfully cloned both our miRNA’s (hsa-miR-374c-5p and hsa-miR-3135b), our first steps of the Fall semester were to clone the miRNA into pcDNA3.1. Unlike the pMiniT2.0 cloning vector, pcDNA3.1 is an expression vector, which will help us determine if our miRNA can regulate APOBEC3A and/or APOBEC3B.
Research
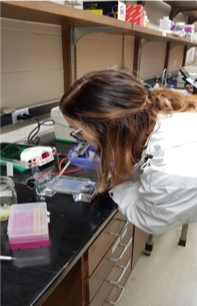
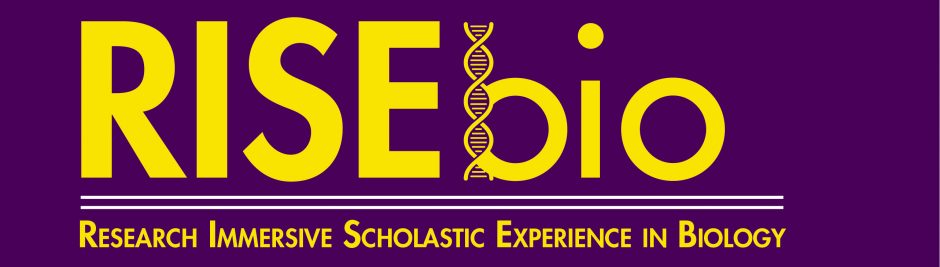
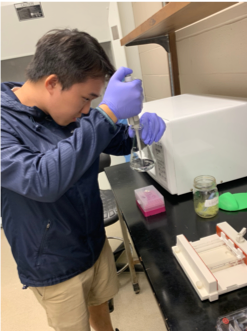
As we are moving forward with our predictions of miRNA regulation of APOBEC3A and APOBEC3B genes, we continued by doing restriction digestion and purification. Unlike past restriction digests, the purpose was not to screen clones, instead we wanted to cut out products so that our samples, hsa-miR-3135b and hsa-miR-374c-5p, would be inserted into the expression vector (pcDNA3.1). We did this by combining PCR water, 10x Cutsmart Buffer, the enzyme EcoRI-HF, and our DNA, after which we incubated for an hour. In order to prevent the pcDNA3.1 from ligating on itself, we did a phosphatase treatment on it. Next we ran it on a gel through electrophoresis to visualize the results. After getting the expected cut band size at 2.5 kb and 0.3 kb for our miRNA and a single band of 5.5 kb for our vector, we used a razor blade to cut out the desired 0.3 kb band for our miRNA and 5.5 kb band for our vector; after which we purified the gel plug. Using a nanodrop, we determined the concentration. As we found out the concentration, the nanodrop did not show a significant curve, signifying that there wasn’t any DNA present.
With the information from the nanodrop it was clear that our gel plug that we cut out did not contain any DNA. That wasn’t the only problem that occurred though, we realized that we did not have enough plasmid samples to do another restriction digest. In order to move forward, we needed to “rescue” more of our samples (hsa-miR-364c-5p, hsa-miR-3135b). To do this, we did E. coli transformation plasmid rescue by obtaining calcium chloride treated cells from the freezer as instructed and allowed to thaw accordingly. Afterwards, following the procedure, we then pipetted 1 microliter of the desired plasmid and 50 microliters of the E. coli cells to get our wanted amounts. We then heat shocked them at 42°C, and finally moved onto prepare LB-plates. Once they were prepared, the samples were then distributed onto the plates with a new plating technique learned, called “streaking”. We then left them in the incubator overnight. The sign of good growth would be the colonies that show up and with ours it took some trial and error, but once we got a plate with good colonies, we knew we could continue forward and see that we successfully “rescued” our samples.
After the samples were rescued, we started restriction digest and gel purification again, following the same protocol.
Future Steps
Once we have our purified miRNA (the insert) and the pcDNA3.1 (the vector), we will continue on with ligation and transformation. In these steps, our insert and the vector will stick together. To do this, we will be using a product that contains T4 (a bacteriophage) DNA ligase, which catalyzes the joining of two strands of DNA. After our samples have been ligated together, the plasmid DNA will be transformed and then plated on LB-Amp plates to select for bacterial cells that have circularized plasmid. After this ligation and transformation step, the clones will be grown up and screened.